Creating a Schedule Starting Rule
schedule schedule schedule schedule starting starting rule rule rule schedule rule
Note: A workflow must be published before you can assign it a starting rule, and a workflow must have an enabled starting rule or be invoked by another workflow to be operational.
![]() See a video about creating a schedule starting rule.
See a video about creating a schedule starting rule.
To create a schedule starting rule
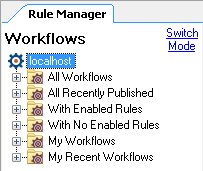
- In the Rule Manager Pane, select a
 published workflow and click Add Starting Rule to open the Publishing Wizard.
 - In the
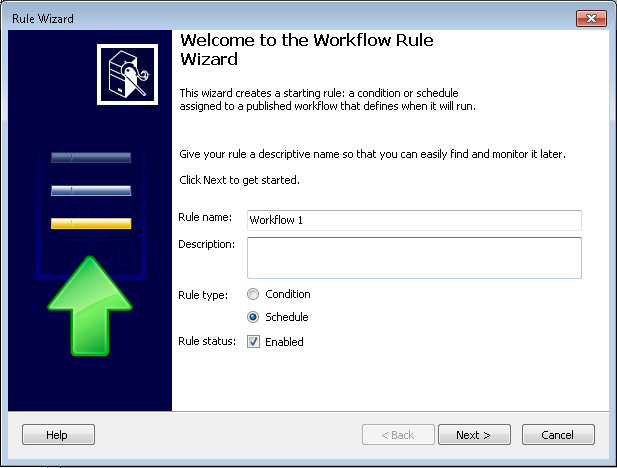
 opening screen, name your rule and optionally add a description.
 - Select Schedule next to Rule type.
- Select the Enabled checkbox next to Rule status if you want your starting rule to be applied immediately. If you choose to clear the Enabled checkbox, you can enable the starting rule manually at a later point.
- Click Next.
- In the
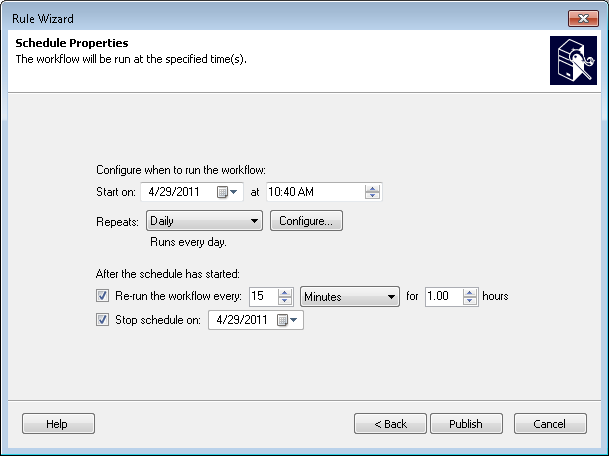
 Schedule Properties screen, configure when the workflow will run
 - Start on: Type in the date and time the workflow will start on. Alternatively, click the calendar drop-down menu
 to choose a date from a calendar, and/or click the up-and-down buttons
  to configure a time.
 - Repeats: Click the drop-down menu to select how frequently the workflow will repeat. You can select for your workflow to repeat:
- Never: The workflow will only run once, on the date and time specified above.
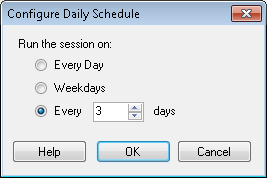
- Daily: Click the
 Configure button to specify if the workflow will run Every Day, Weekdays, or Every __Days.
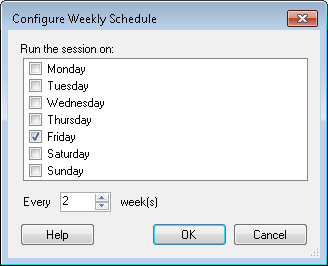
 - Weekly: Click the
 Configure button to specify what day of the week the workflow will run on and if the workflow will run every week or Every __ weeks.
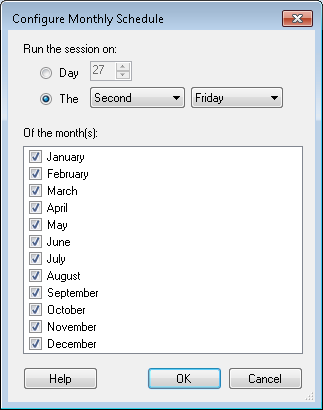
 - Monthly: Click the
 Configure button to specify on what day of the month and in which months the workflow will run.
 - Re-run the workflow every: After you configure when the workflow will run, you can configure it to repeat for a specified amount of time. Select this optional checkbox to configure how frequently the workflow will run during a specified timeframe.
 Show me an example.
 - Type in the amount of time between when repeated workflows will start, or click the up-and-down buttons
 to configure a time.
 - Click the drop-down menu to select Minutes or Hours as a unit of time.
- Type a time in the text box, or click the up-and-down buttons
 to configure the number of hours the workflow will repeat.
 - Stop schedule on: Optionally, type in an end date for the workflow, or click the calendar drop-down menu
 to choose a date from a calendar.
 - Click Publish.
Note: Alternatively, you can open the Rules Wizard from the Publishing Wizard. If you publish using the Publishing Wizard, you will be prompted to create a starting rule. Select the Create a starting rule after publishing checkbox, and click Next to use the Rule Wizard.
Note: The default Start on time is five minutes after the time displayed on your computer. Workflow will automatically convert this time to the corresponding time on the Workflow Server.
